|

How to make Particle
Effect Derives for IMVU
In this tutorial I'm
going to show you how to change a particle
Most products I've recently made in
IMVU classic client the particle is added like a normal texture there's
a spot for it, in older products as an example my falling stars particle
http://www.imvu.com/shop/product.php?products_id=9677068
The particle is manually dropped in
the assets folder, those older products also needed the particle named
the same as the orginal
 |
Particles
are made from .png files and to add your own to a mesh is VERY simple.
Your particle must be the exact same name as the one used in
the original mesh. And in the example I use Product
9677068 the name of the particle is particle4u, its a .png file so
the full name is particle4u.png
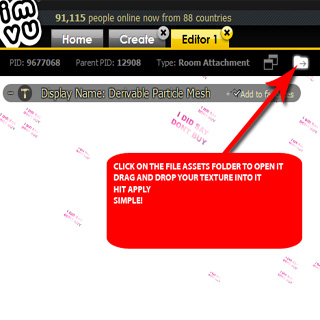
Open the mesh you want to edit in
the client, look up the top for the assets folder seen in the picture
on the left, click on this to open it, drag your particle into this
folder and hit apply.
Particle added.! |

|
Making Particle
Textures
Particles are .png
files and I recommend making them 128x128 in size, with the actual
particle bit being about 64x64. Particles don't work the same way as
other textures on imvu. To make them more see thru YOU DON'T AN OPACITY
TEXTURE.
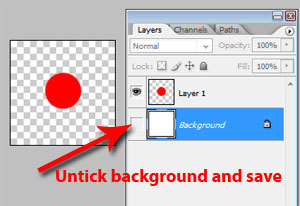
Save your particles with
no background
The way they are made
more see thru is by changing the opacity on the .png file
If your going to make a
star with say a blue glow around it make the blue glow part at a lower
opacity than the star, play with the settings here, many of my glow
effects are set around the 10% opacity mark, for the falling stars I
would make it around the 60-70% area. |
| Some free
samples of particle textures
|
|